
Edit one part of a photo
For one color, material or local detail, start with the photo editor and select an area when needed. Compare the boundary with the original.



Upload a reference, describe what should change, and name the details that should stay. Start with one edit you can compare clearly.
Image to image AI uses an uploaded visual and your instructions to create a variation. Describe the change first, then list the subject, framing and details that should stay recognizable.
For one color, material or local detail, start with the photo editor and select an area when needed. Compare the boundary with the original.
When the image already looks right, use it as an opening frame for video. Describe movement instead of asking the video tool to redesign the scene.
Move the divider to compare the reference and the new direction. Each example makes one main change instead of replacing the whole brief.
Turn daylight into a warm evening interior. Compare the window light and lamps against the original room.
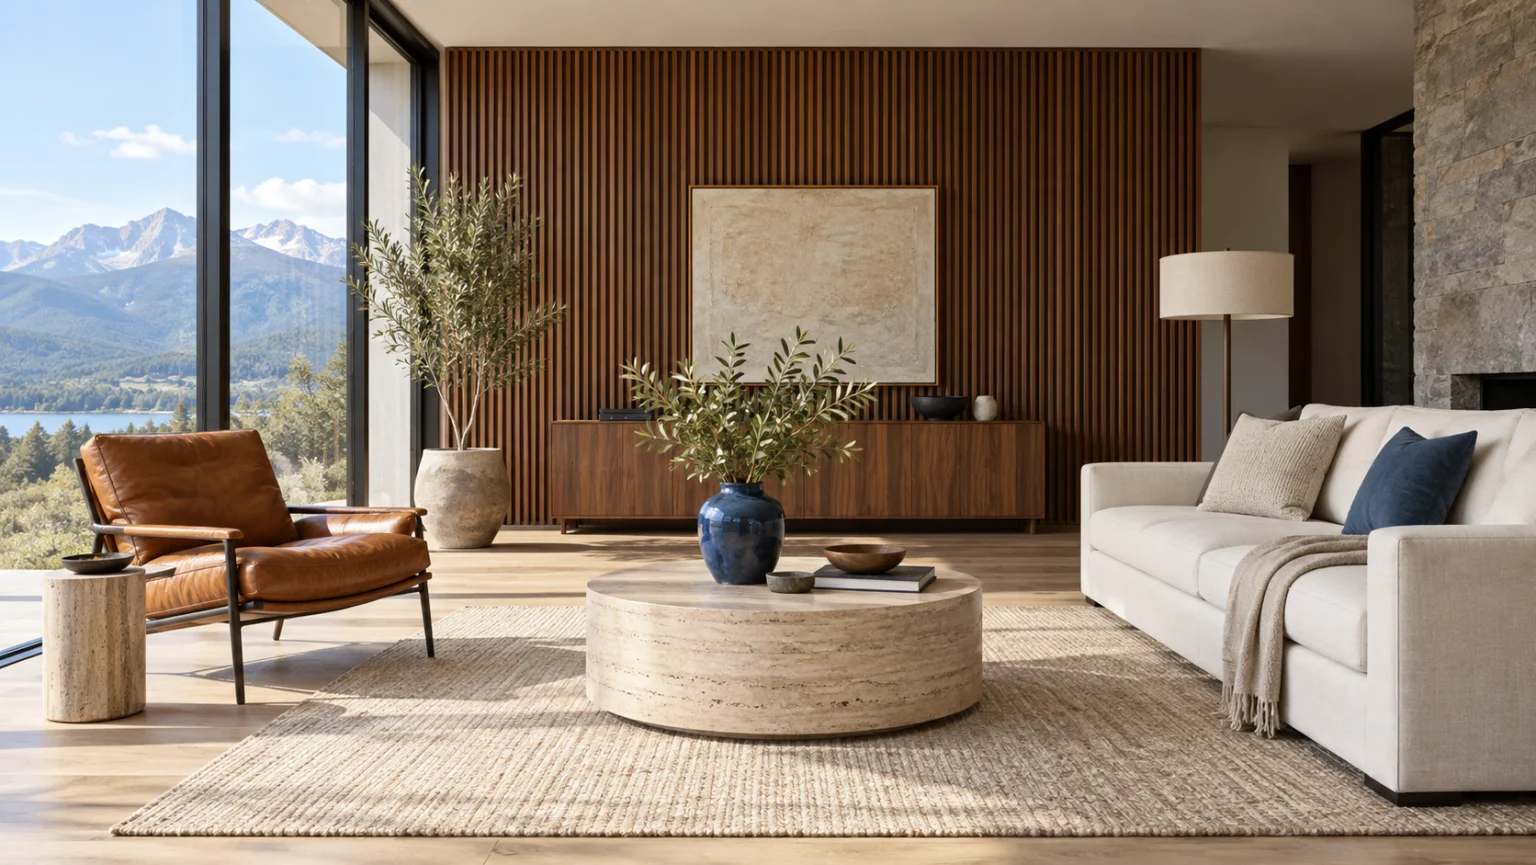
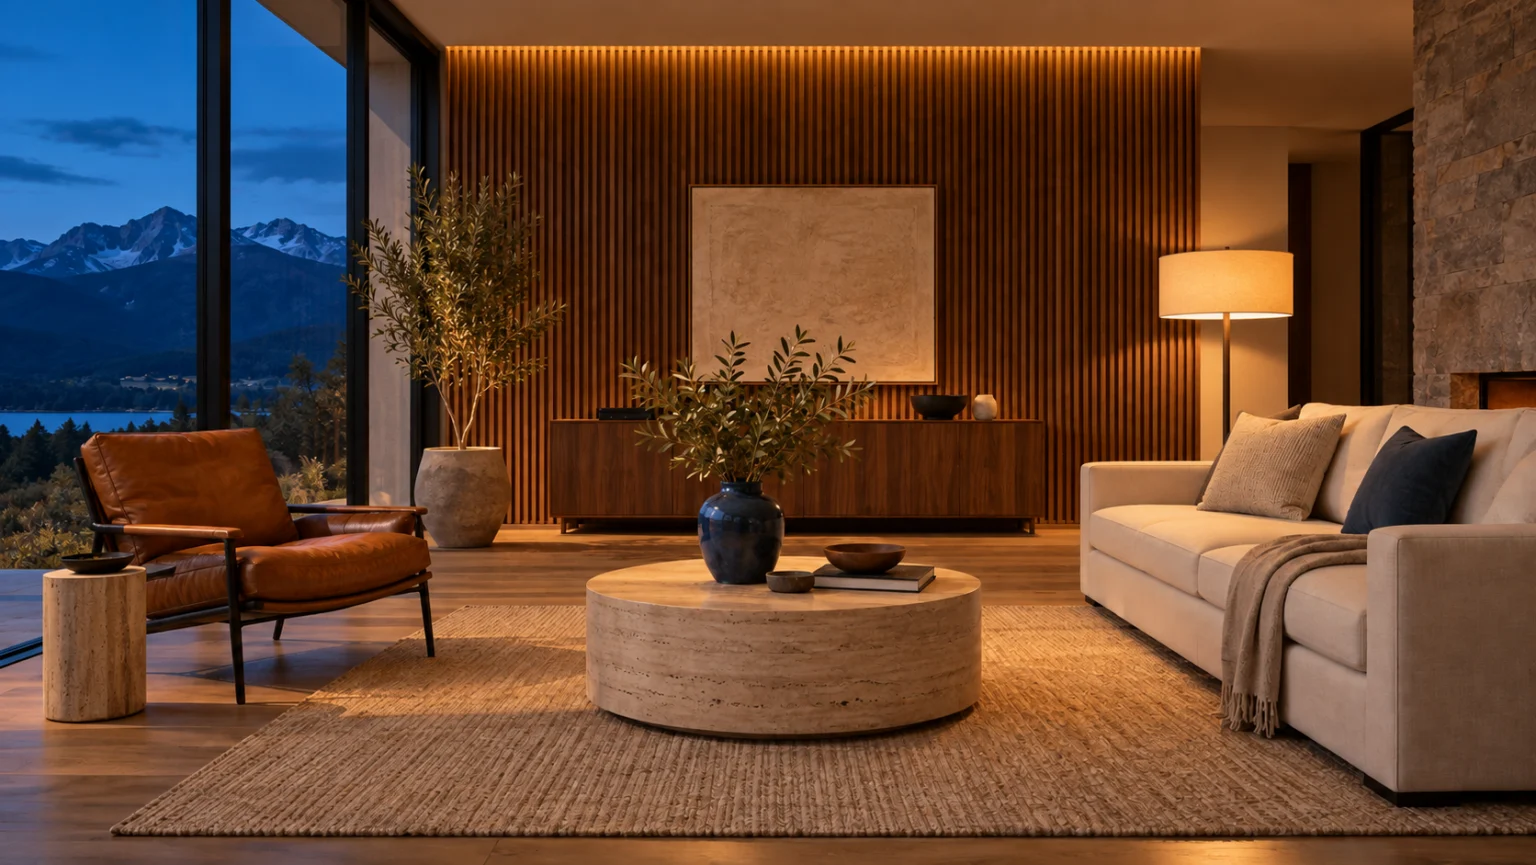 OriginalEvening light
Translate the portrait into watercolor. Compare the face, pose and framing before judging the brushwork.

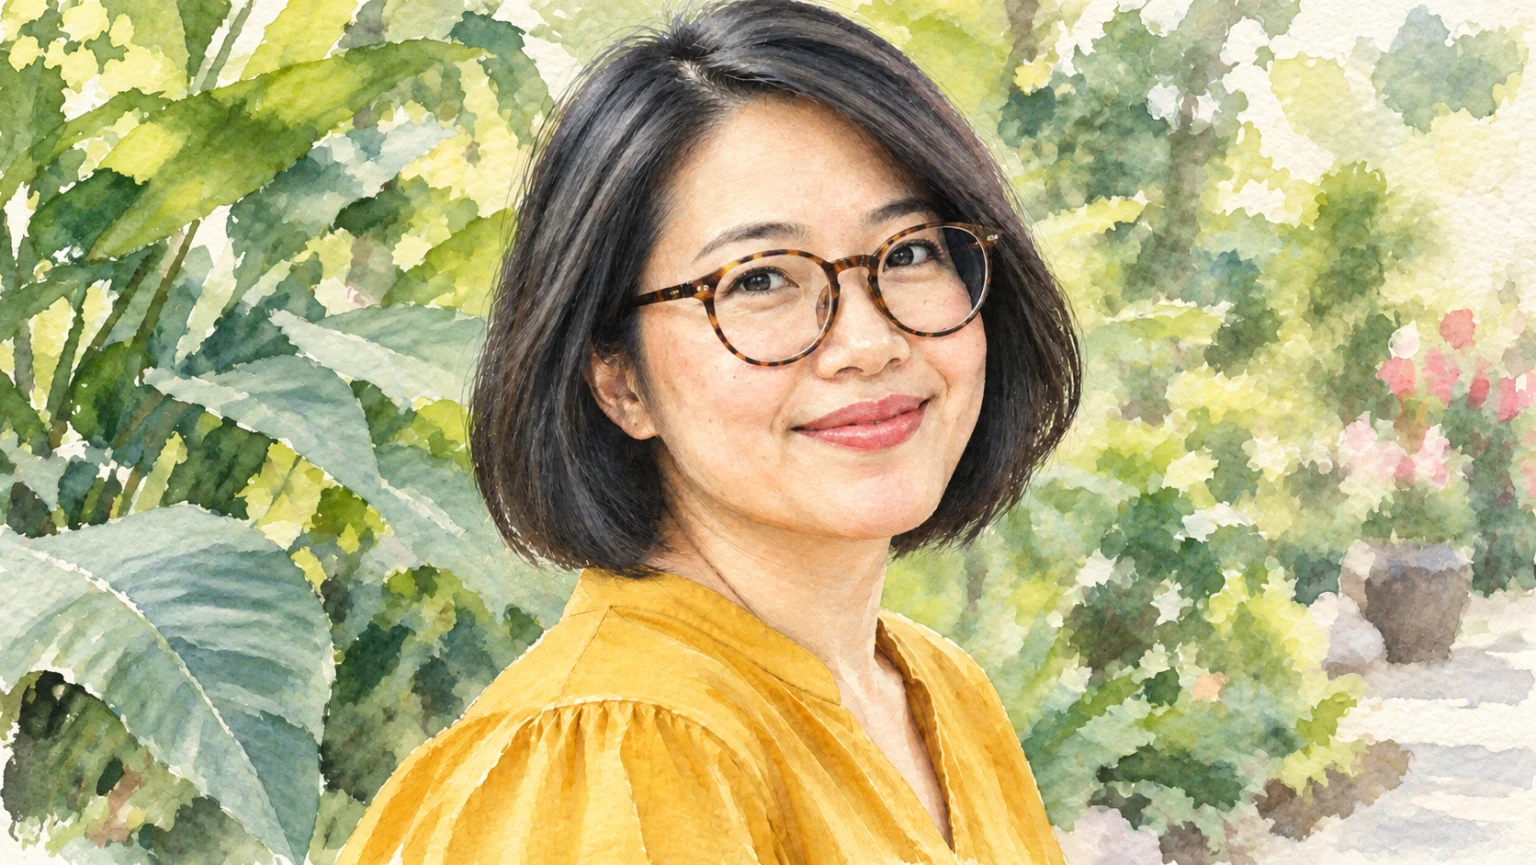 OriginalWatercolor style
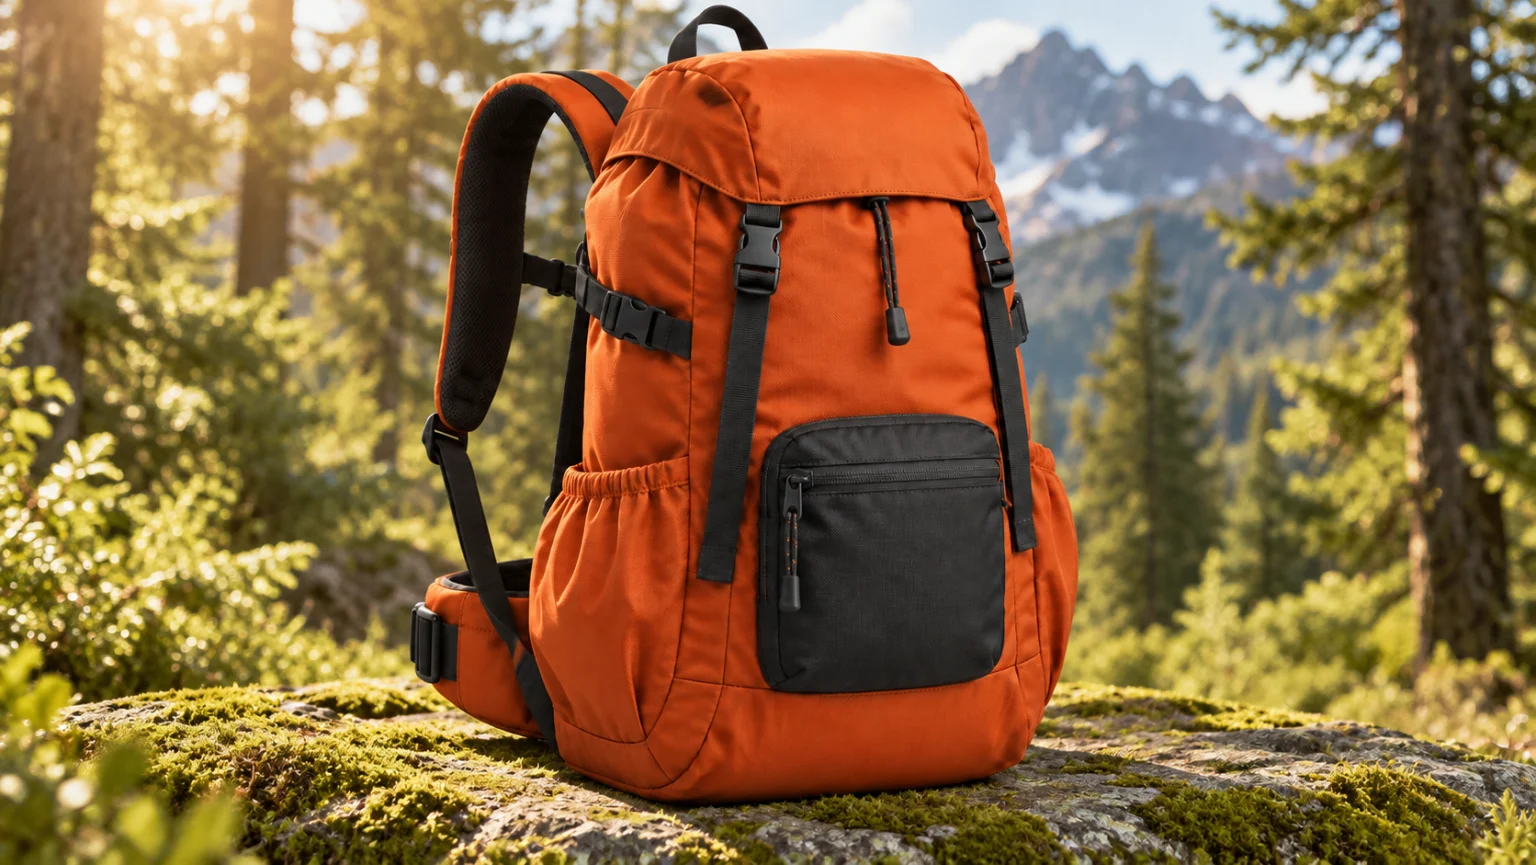
Move the backpack from a studio surface to a forest rock. Check its outline and contact with the new setting.
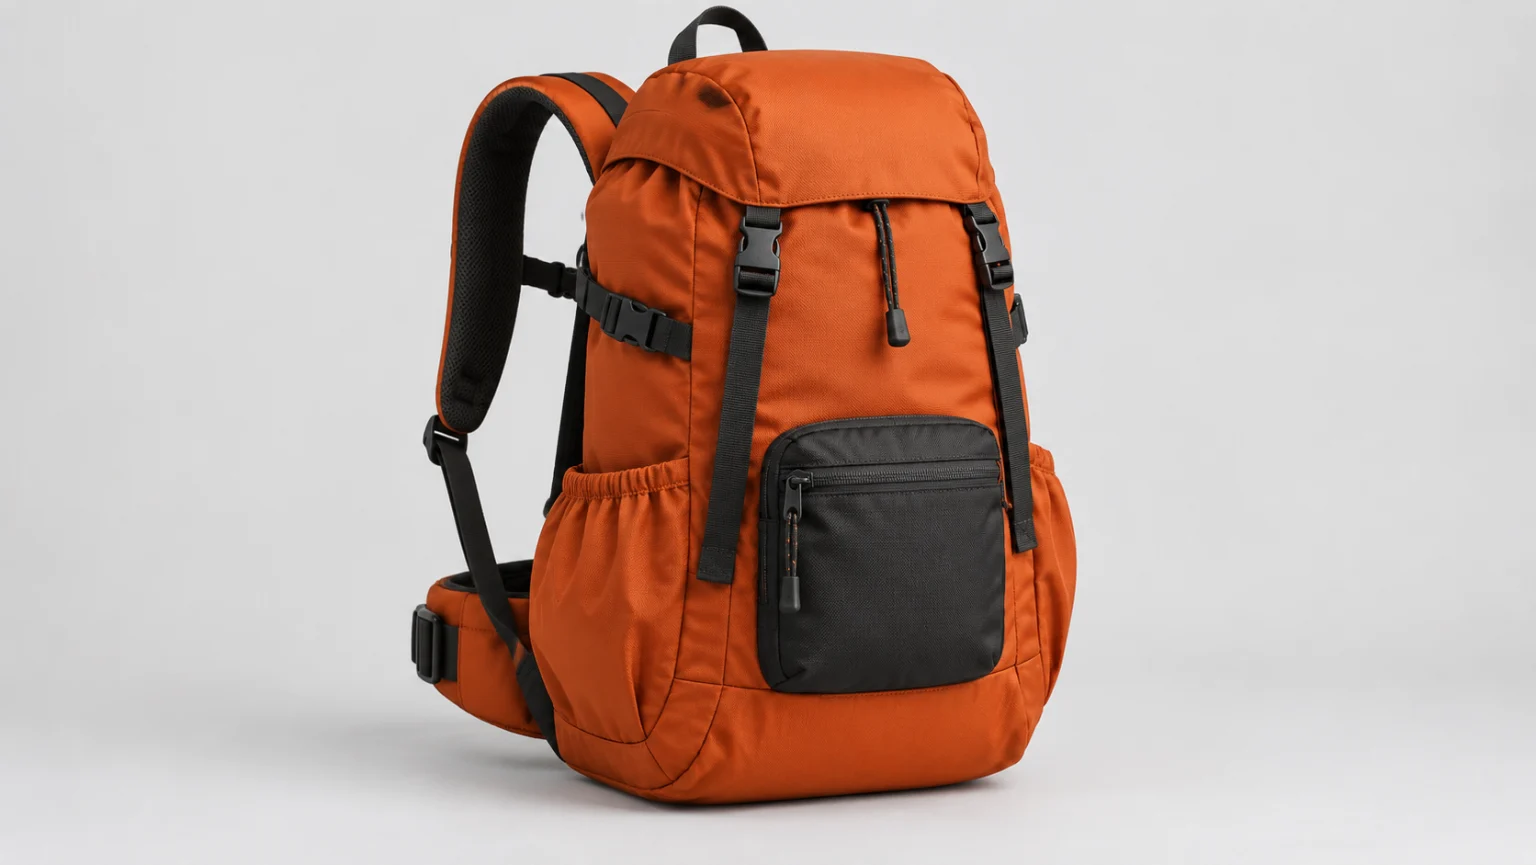
 OriginalNew setting
Turn the watercolor room into a photographic interior. Compare the layout, then inspect the newly interpreted materials.

 OriginalPhotographic room
Refine the ceramic bowl’s visible glaze. Check the rim and surface against the original before accepting new detail.

 OriginalRefined texture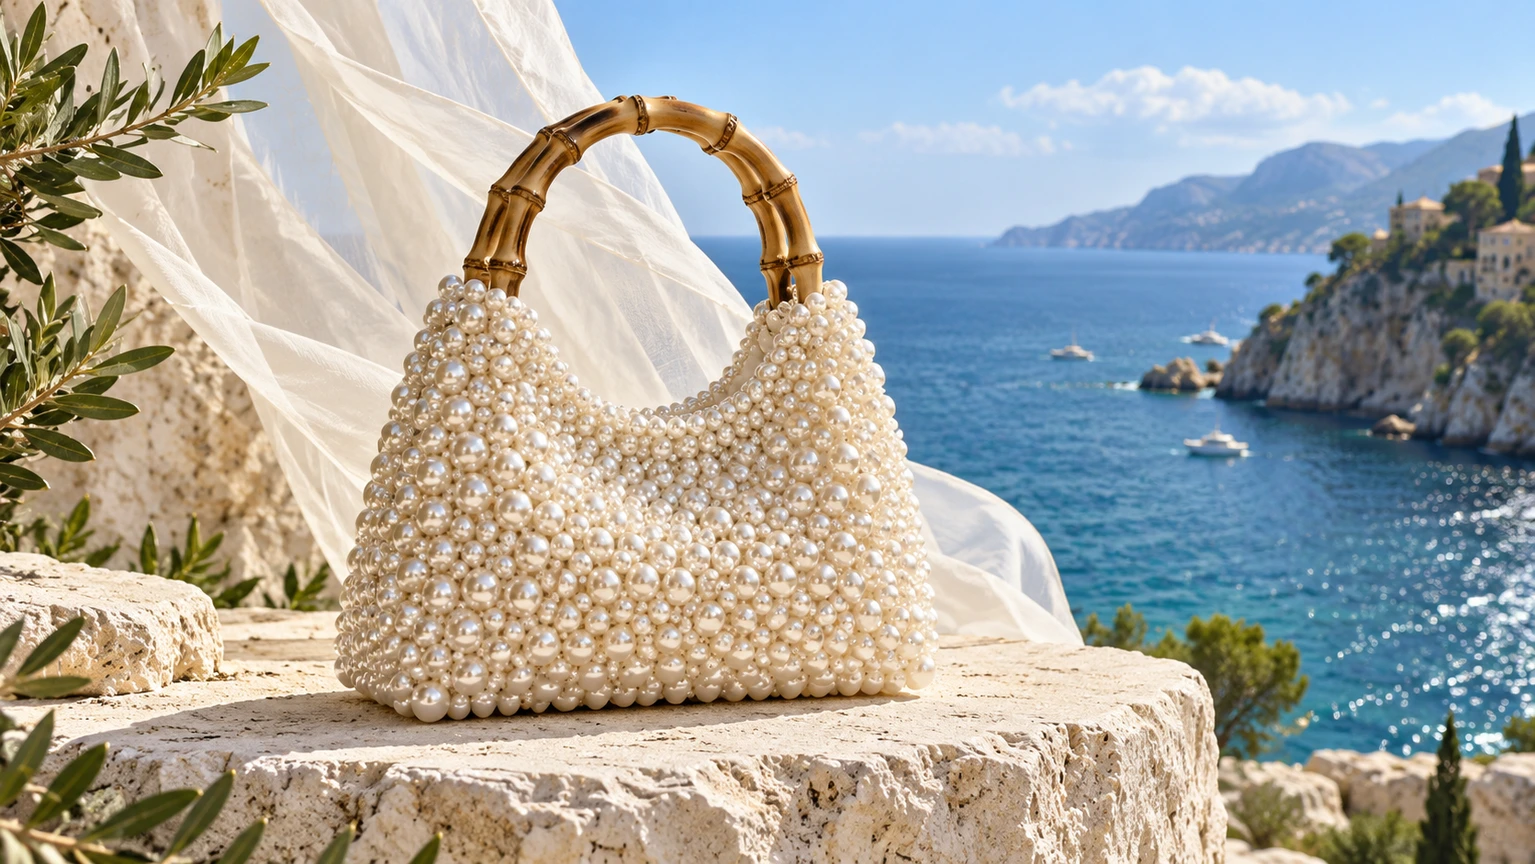
A pearl handbag in a bright coastal product campaign.
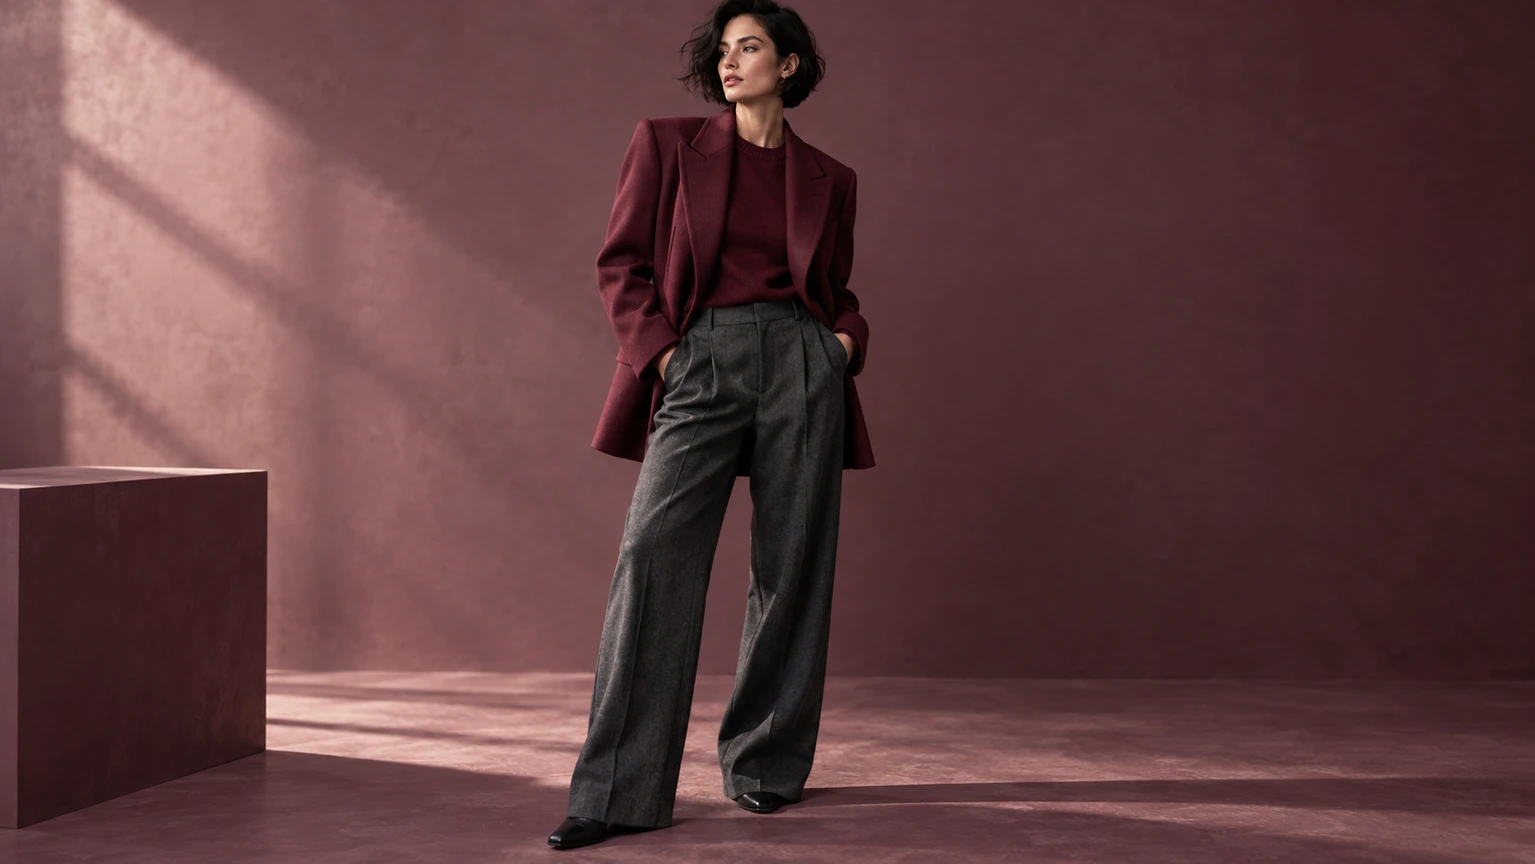
An adult fashion model wearing a burgundy jacket in an editorial studio.
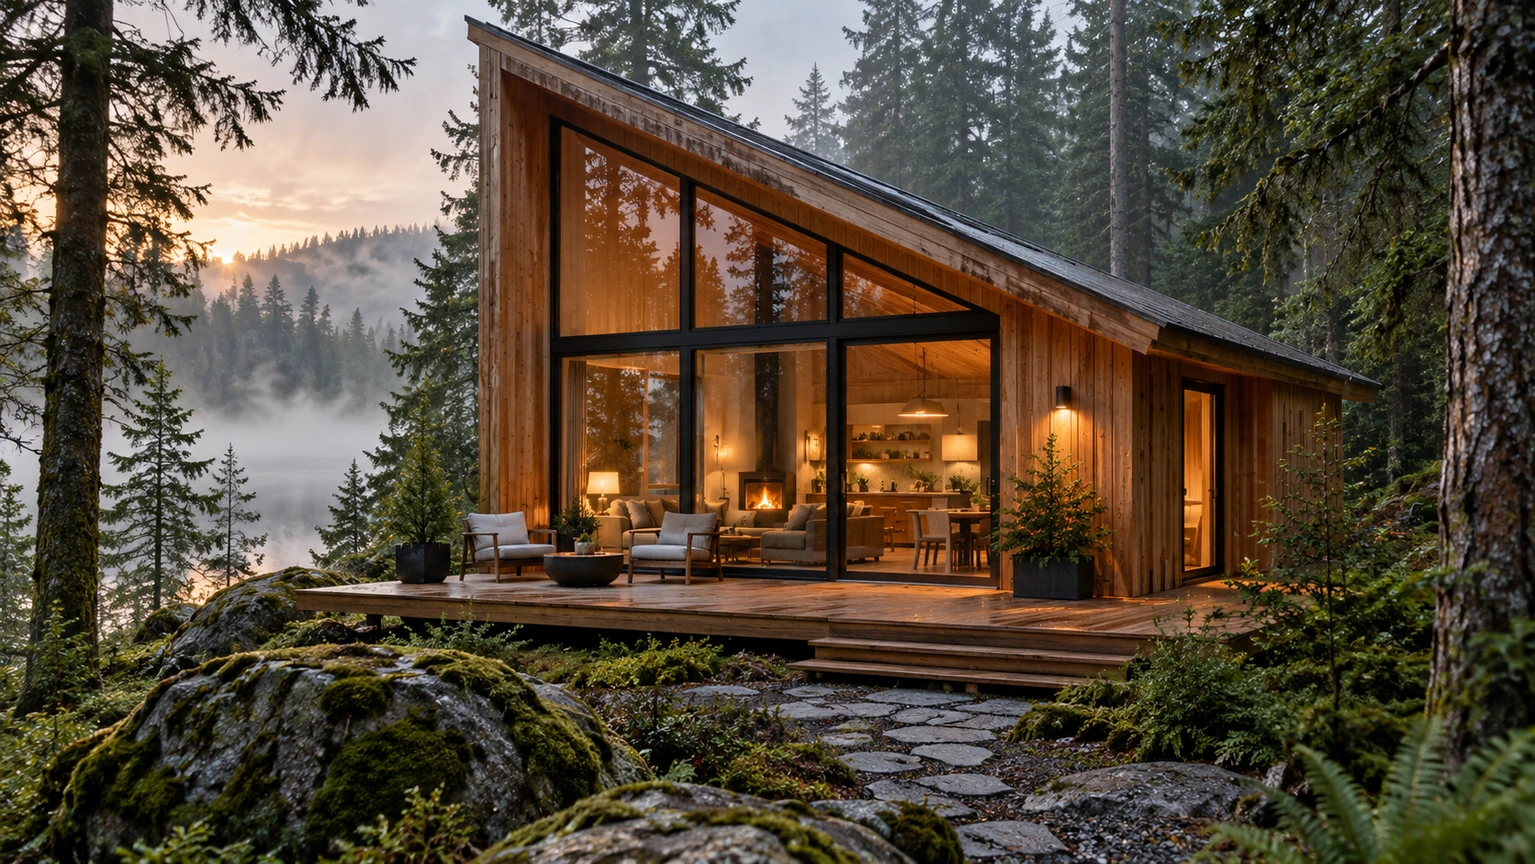
A contemporary cabin built into a quiet forest setting.

A ceramic table lamp on a blue studio set with soft controlled light.
Choose the version with the subject and framing you want to preserve. A clear reference makes the next edit easier to compare.
Image editing can reinterpret details. Clear priorities make it easier to decide whether an edit is useful.
“Place the backpack on a mossy forest rock” is clearer than “make it better.” Include the environment, light and contact shadow when changing a setting.
A portrait may need the same expression and pose. A product may need the same silhouette and hardware. These instructions guide the edit; review the result for unwanted changes.
A sketch-to-photo edit adds materials that the sketch did not specify. A detail-refinement edit can also invent texture. Check seams, rims, labels and other defining features.
Use your plan credits for images and videos. Review the selected tool, settings and credit quote before each generation.
$9.99/ month
800 credits / month
Credits renew monthly and expire at the end of the billing period.
View plan$24.99/ month
2,500 credits / month
Credits renew monthly and expire at the end of the billing period.
View plan$59.99/ month
6,200 credits / month
Credits renew monthly and expire at the end of the billing period.
View planChoose the action below a comparison. It loads that example’s original image and instruction into the generator. Edit the prompt, review the model settings and submit when the brief is ready.
Upload a reference and describe the one change you want to see first.
Edit a reference image