
Remove an existing image background
For a straightforward cutout of an existing product or portrait, use the background remover. Keep a copy of the original to compare edges and small details.


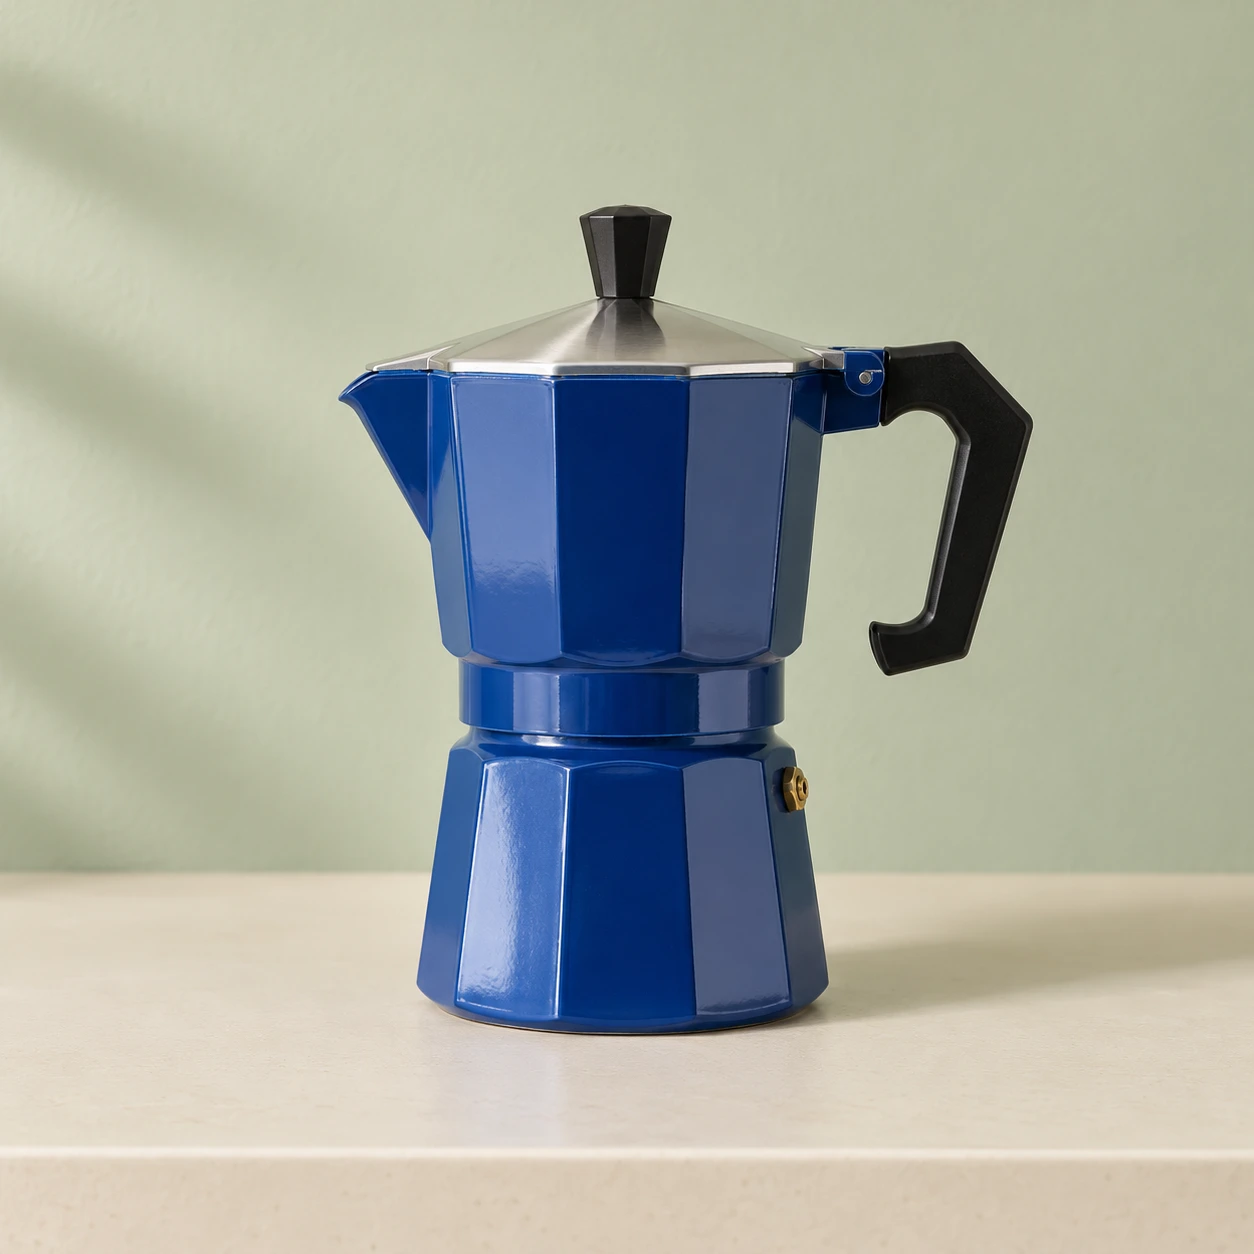
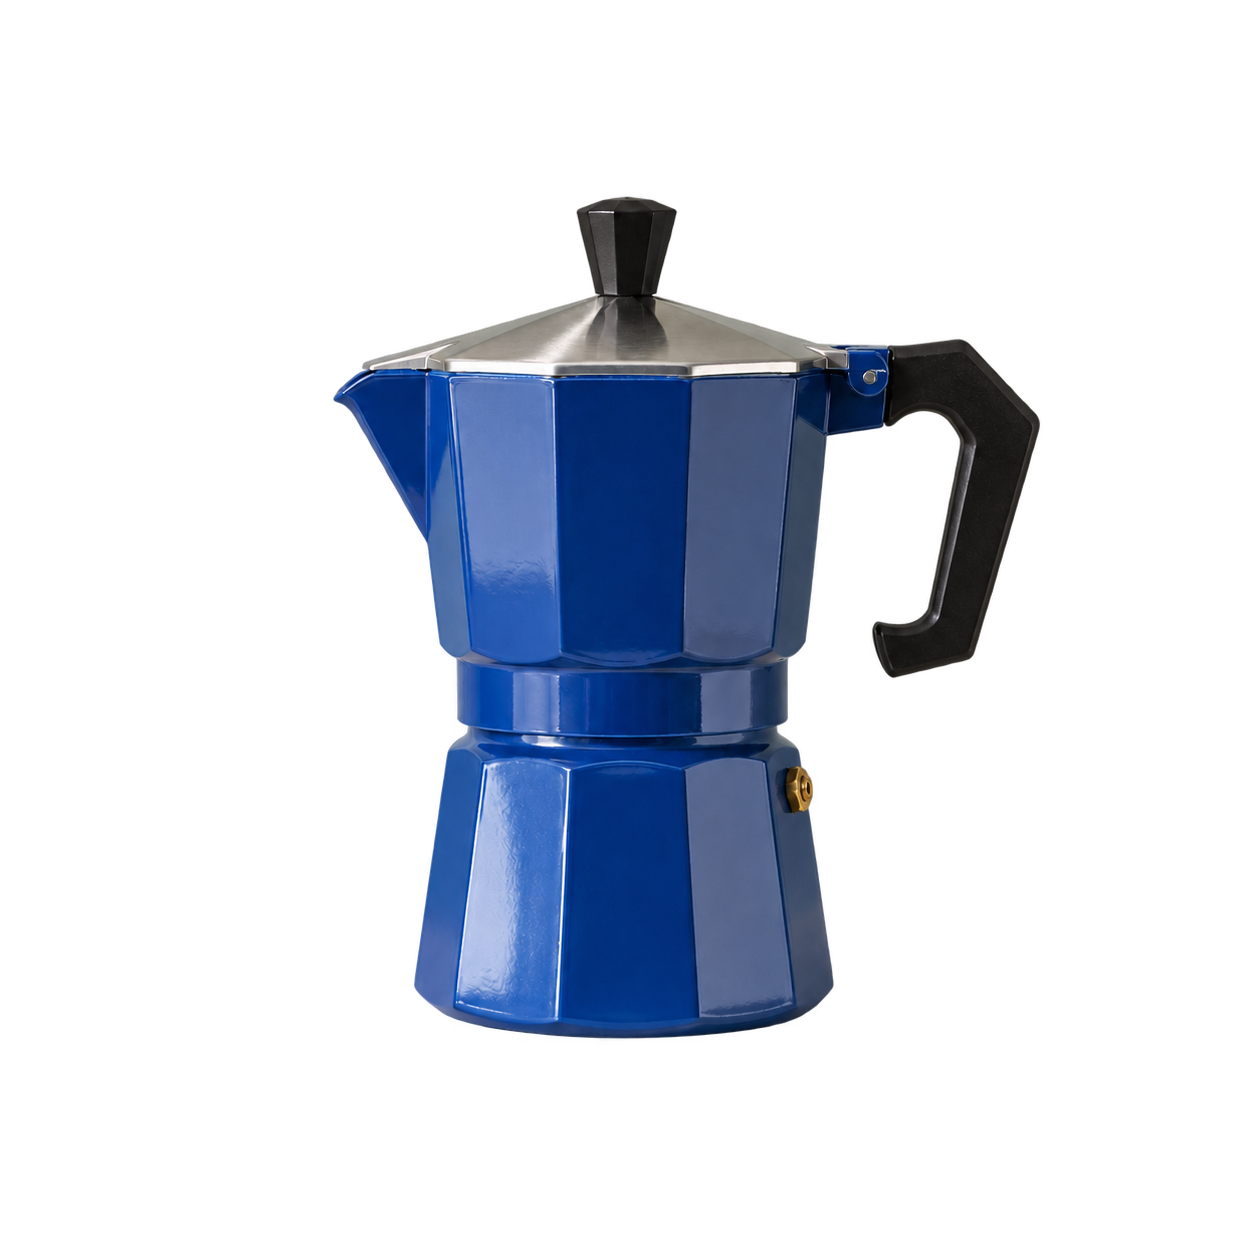
A transparent PNG lets you place a subject over another design. Describe the cutout you want, then inspect the result on light and dark backgrounds before exporting.
For a straightforward cutout of an existing product or portrait, use the background remover. Keep a copy of the original to compare edges and small details.
If you want a tabletop, studio or lifestyle setting, use image to image. A fully composed background serves a different purpose from transparency.
Move the divider to reveal the transparent result. The checkerboard makes the areas without a background visible.
Separate the blue moka pot from its kitchen background. Check the lid, valve, outline and space inside the handle before using the PNG in a new layout.
Separate the blue moka pot from its kitchen background. Check the lid, valve, outline and space inside the handle before using the PNG in a new layout.
A visible outline and enough contrast between the subject and background give the request a clearer starting point.
Review the available model and resolution. The tool supplies the background-removal instruction for the uploaded image.
Switch the example preview between checkerboard, light and dark backgrounds. For your own result, download the file and inspect its edges and transparency in your design app.
The source image and selected model affect the result. Background removal can need refinement, especially around hair, glass and fine gaps.
Check whether the file has transparent pixels. A white background or a checkerboard drawn into the picture does not provide a reusable cutout. Export with transparency enabled in your design app.
A light background can reveal dark fringes; a dark one can reveal pale halos. Check fine hair, gaps around straps and partially transparent glass at the size you need.
Leave space for the subject and any text. Match the scene’s light and contact shadow. For a generated scene change rather than a cutout, continue in image-to-image.
Use your plan credits for images and videos. Review the selected tool, settings and credit quote before each generation.
$9.99/ month
800 credits / month
Credits renew monthly and expire at the end of the billing period.
View plan$24.99/ month
2,500 credits / month
Credits renew monthly and expire at the end of the billing period.
View plan$59.99/ month
6,200 credits / month
Credits renew monthly and expire at the end of the billing period.
View planA PNG can contain transparent or opaque pixels. Place the downloaded result over a different background to check its transparency, especially around hair, glass and fine edges.
Start with a clear photo, then review the cutout before building the next layout.
Prepare a transparent subject