
AI Image Prompt Guide: Subject, Style and Composition
Learn how to write AI image prompts with a clear subject, scene, lighting and composition. Use practical examples and refine your result in Jynno.

A useful AI image prompt gives the image a clear subject and a coherent visual direction. You do not need a long list of adjectives. Start with what should be visible, then choose the details that matter for your project.
Use Text to Image when you want to create a new image from words. If you already have a photograph and want to change it, use Image to Image instead.
Build a prompt in five parts
- Subject: Name the person, object or place that should hold attention. Include distinctive materials, colors or clothing when they matter.
- Setting: Put the subject somewhere specific. A quiet studio and a crowded night street suggest different images.
- Composition: Describe a close view, a full-body portrait or a wide scene. Say where the subject belongs and whether you need space for text.
- Lighting: Choose one clear direction, such as soft window light, afternoon backlight or a focused studio light.
- Style: Specify photography, watercolor, a graphic poster or another visual approach. Keep the style consistent with the intended use.
A starting structure is: “A [subject] in [setting], [composition], [lighting], [visual style].” Add details because they help define the picture, rather than because they sound impressive.
Three prompts you can adapt
Product image: A clear amber perfume bottle on pale stone, centered with open space on the right, soft side lighting and warm reflections, editorial product photography.
Character scene: A small orange robot standing on a beach, seen from behind in a wide coastal view, gentle morning light, detailed animated-film style.
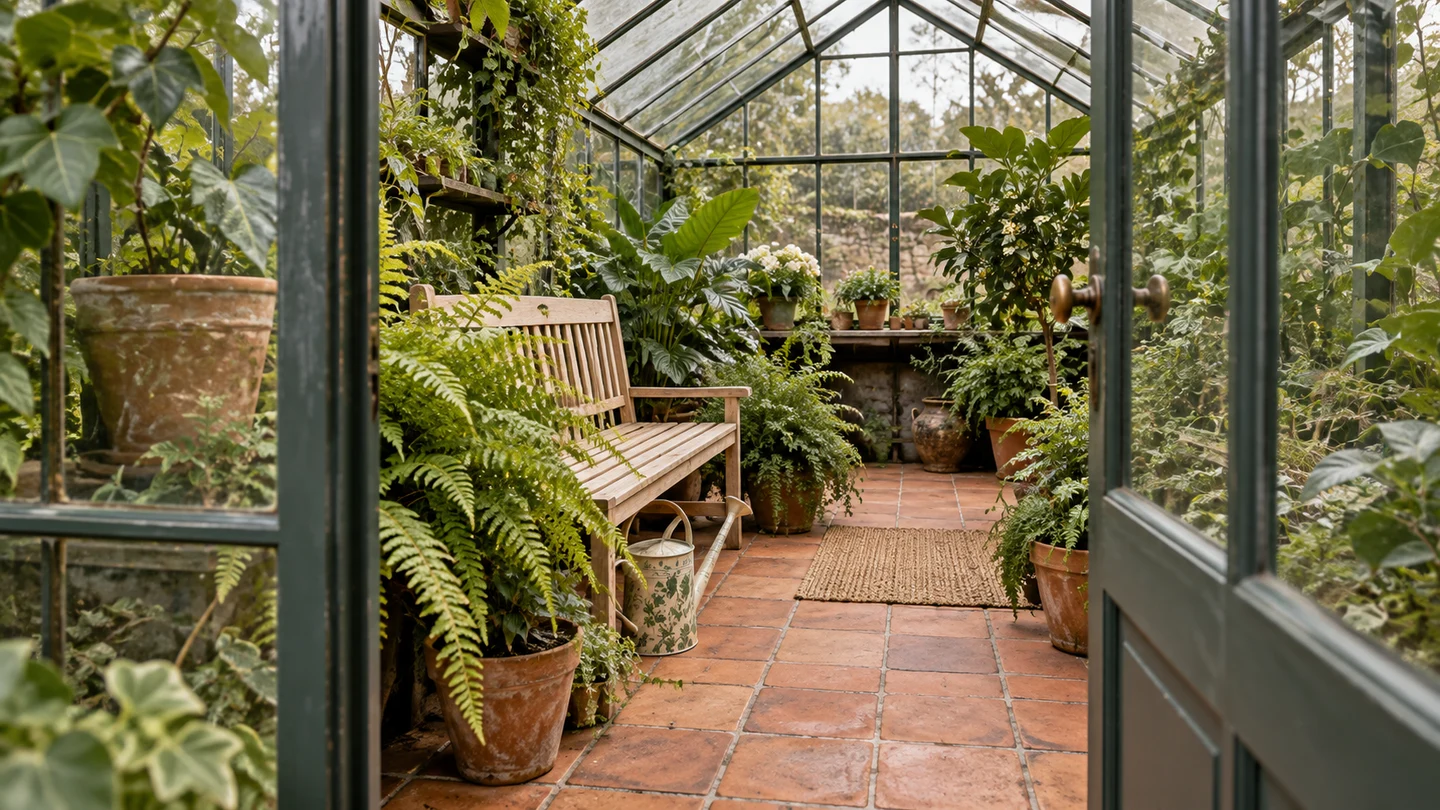
Interior: A compact glass greenhouse filled with green plants, a wide view from the doorway, soft overcast daylight, architectural photography with natural materials.
Replace the subject and setting with your own brief. For a real product, use an image reference if its exact shape or label matters. A text description alone may produce different lettering or construction.
Choose settings for the destination
Write the prompt around where the image will appear. A product card needs a readable subject at a small size. A portrait cover may need vertical framing. A website banner benefits from space around the focal point.
Choose the model, aspect ratio and output size shown in the generator. These controls depend on the selected model. Review the credit cost before submitting; a longer prompt does not tell you how much the task will cost.
Refine one change at a time
After generation, compare the image with the brief. Check the subject, composition, lighting and any text. If the image feels crowded, simplify the setting. If the product is too small, ask for a closer composition.
Keep the part of the prompt that worked and change one important detail. When you want to keep a particular result and edit its background or color, switch to Image to Image and describe both the change and the details you want to retain.
Before you publish
Inspect hands, edges, lettering and recognizable product details at the delivered size. Make sure you have the rights needed for references and your intended use. Save the version that fits the brief rather than relying on a preview alone.