
Product Photo to Video: A Practical AI Video Brief
Turn a product photo into a clear AI video brief. Prepare the image, choose one action and camera move, then check packaging and motion before using the clip.

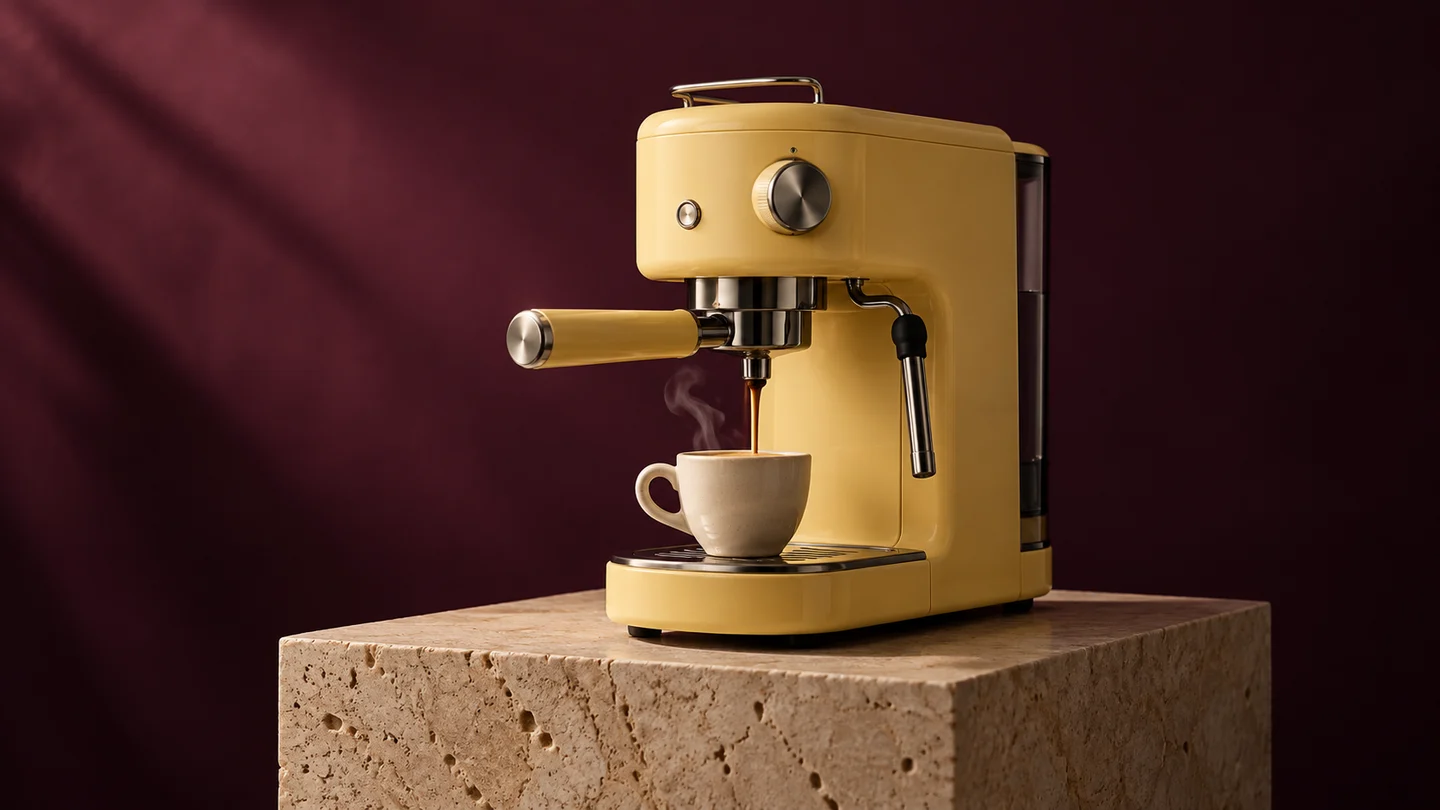
A product photo gives an AI video generator a concrete visual starting point. The motion brief explains what happens next. Use Image to Video AI for a single shot, or explore Jynno’s product ad workflow when your idea needs a brief and several planned scenes.
Start with the product you actually want to show
Choose a sharp image with the full product visible. The shape, color and important packaging details should be readable. Keep enough space around the subject for the movement you intend to request.
A cluttered background can compete with the product. If you want a cleaner setting, prepare it with Image to Image AI before adding motion. Keep the original photograph to compare the finished clip with the real object.
Do not treat a still product image as proof that every detail will remain unchanged during video generation. Small labels, reflections and transparent surfaces need careful inspection in motion.
Give the shot one job
Decide what the viewer should understand from the clip. A product reveal shows the object clearly. A texture detail moves closer to a material. A lifestyle moment shows the product in a setting. A short shot is easier to direct when one of these purposes leads.
For a clean bottle photograph, a brief could read:
The amber bottle remains upright on the stone surface. A soft highlight moves across the glass while the camera pushes slightly closer. Keep the bottle shape, label placement and background consistent. End with the whole bottle visible and the camera settled.
Adapt the action to the image. A push toward the product and a complete orbit are different requests; asking for both in a short clip can make the result harder to control. The prompt is a direction to review, rather than a guarantee that branding stays exact.
Choose framing before requesting motion
Check whether your composition suits the intended placement. A vertical social clip needs room above and below the product. A wider page banner may need empty space beside it for separate text in your final layout.
Use the aspect ratio, duration and resolution offered by the selected model. Keep the action comfortably within that duration. If the source crops out important parts of the product, prepare a better image instead of asking the video to reconstruct them.
Review the whole clip
Watch the beginning, middle and ending. Pause on the product’s most important details and compare them with the original photo.
- Does the product keep the correct shape and proportions?
- Are the label, logo and packaging still readable where they need to be?
- Does the camera move help show the object, or distract from it?
- Does the ending give the viewer a clear view of the product?
If the clip fails one of these checks, simplify the motion brief or prepare a clearer source. Keep a record of the prompt that produced a useful result so you can vary one ingredient in the next version.
Use several shots when the message needs a sequence
A single image-to-video clip works for one product moment. A reveal, detail shot and final product view can form a longer sequence, but they need planning and review as separate shots.
The product ad workflow helps organize the creative direction around your product. Prepare the product reference, the audience and the main point you want the video to communicate. Select results that agree on product appearance before assembling the sequence.
Make the next variation purposeful
Change one useful variable: the camera move, background atmosphere or ending. This makes it easier to understand why one version communicates the product more clearly. A finished clip can support a campaign, but the clip alone does not establish better sales or ad performance.
Animate a product image · Plan a product video · Read the motion prompt guide · Browse AI tools